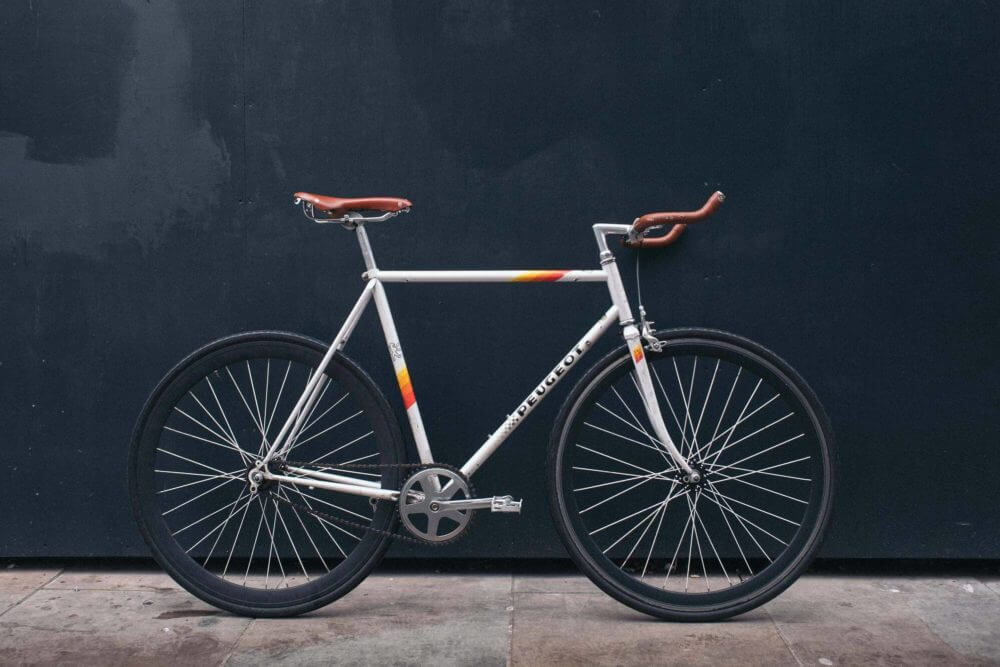
How to Pack a Bicycle for Moving
Changing your address soon and can’t bear to part with your beloved bike? Well, it’s important to learn how to pack a bicycle for moving, and it’s easier than you think! Let’s get that bike packed up properly so you can hit the road in no time!

First Things First, Gather the Supplies You’ll Need
Did you know that currently, it’s estimated that there are more than two billion bikes in the world? That’s a lot of pedals!
On top of that, about 100 million bicycles are produced each year and shipped all across the world. So, if you’ve bought your bike recently, chances are you have some original packing materials with it.
If you still have the original packaging, you’re all set once it’s time to move. If not, you should buy some foam protection tubes, derailleur guards, fork guards, and wheel plugs. All of them are available at almost any bike shop.
You will also need bubble wrap, zip ties, and packaging tape. For the transport, you should get ratchet strap tie-downs to stabilize your prized ride inside the shipping container or moving truck.
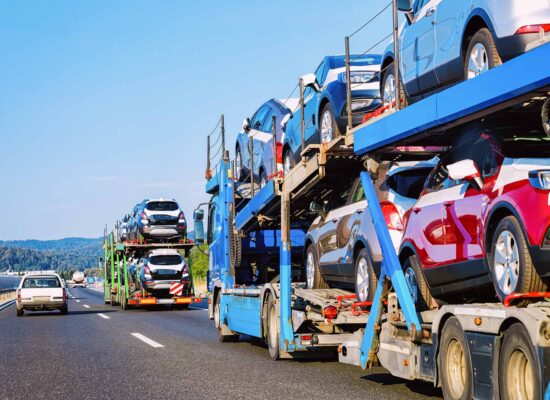
That being said, you can always book packing services from a reputable relocation and auto transport company. Just think about it – if they’re experienced with shipping a car across the country, is your little old bike going to cause any trouble? Not really! Also, with full-service packaging, these pros will even come equipped with their own packing materials.
DIYers Should Get Advanced Tools as Well
If you don’t want to book professional long-distance moving services, you need to have the basic tools for disassembling it. These same tools can be used for reassembling once you reach the new home.
You will need a wrench set or at least a set of hex wrenches size 3, 4, 5, 6, and 8 mm, as well as a 15mm pedal wrench, a torque wrench, and a pair of pliers. Of course, don’t forget to pack tools after you’re done with them – riding a bike that’s in three different pieces is not exactly ideal!

Bike Boxes for Moving – Are They Really Necessary?
As you can tell by now, when you’re figuring out how to pack a bicycle for shipping, it’s really not possible without the right tools and materials. On top of all we’ve mentioned, you’ll need to get a special box or a customized one for shipping across the country.
These containers are highly protective cases, but they can also come with a higher price tag, so if you’re looking to save on relocation costs, choosing a different option might be a wiser choice. If you don’t have the original box, you can get a special cardboard box at the local bicycle shop, but opt for a quality one, even if it costs a little more.
Before learning how to pack a bike box, check for smaller tears or holes. Tape them well with heavy-duty tape, all while avoiding the holes intended for carrying that can facilitate the loading and unloading. Along with this large container, get a smaller one too for placing tools and additional equipment.
The Best Way to Ship a Bicycle Is to Disassemble It Beforehand
Before disassembling it, clean the bike with a soft rag, paying special attention to the chain and tires. Consider it move-out cleaning, only for your precious ride. This will help you inspect it more thoroughly for any signs of wear so that you can take care of them later.
To disassemble the bike, start by shifting the chain onto the small chainring and the rear cog. Store all the parts in a container as you take them off. Remember, if you’re finding this task difficult, you can always hire a long-distance moving company such as Flat Price Auto Transport and Moving to do it for you.

Moving Services
Whether you are moving from New York to Los Angeles or from San Francisco to Chicago, we can help you.
Read more
Packing Services
Our moving teams are trained to pack your belongings in the most efficient manner possible.
Read more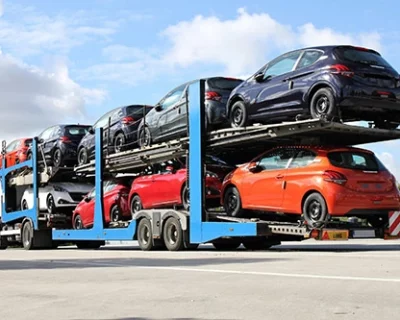
Auto-Transport
If your first concern is having your vehicle transported safely and efficiently, enclose shipping is the way to go.
Read moreTake Apart the Rest of the Bicycle
Dealing with the chain is only the first part of the whole ordeal. Here’s everything else you need to take care of so the bike is prepared to move:
- Ditch the pedals – grab a wrench, turn the left pedal clockwise and the right one counterclockwise, and pop them off, stashing them in the designated container,
- Remove the disc brake – first, remove the wheel, and then, take out the training pin that’s holding those pads in place, making sure the outer pad is removed first,
- Take down the seat and the post – loosen the seat-post, and the seat comes off with it, also, if your bike’s got a computer and mount, take those down too,
- Deflate the tires – do it halfway, just enough to keep them relaxed but not totally flat.
With your bike disassembled and prepped, you’re halfway to the finish line. Now, it’s just a matter of combating packing procrastination, and sometimes, that’s easier said than done.

How to Pack a Bicycle for Moving – Here Are the Steps You Need to Take
First things first, you will need to protect the main frame with foam tubes and secure the whole package with tape. For the seat and the seat post, use bubble wrap and packing paper.
After that’s done, you can slowly move on to the other parts. Each piece should be wrapped tightly and stored in moving boxes. Make sure to label everything so there’s no head-scratching business once it’s time for that first ride in your new city.


Protect the Rear Derailleur
The rear derailleur is a fragile piece, so you need to protect it well. Begin by shifting the chain onto the small chainring and the rear cog. Then continue by wrapping the rear derailleur with the chain in bubble wrap and fixing it with tape. Even your long-distance movers will be amazed at just how well you’ve protected this delicate piece!
Secure the Handlebars
Handlebars also need to be protected well. Flat handlebars are easier to pack than dropped handlebars, but extra attention is required for both. Do not skimp on bubble wrap and try not to twist the cables. It’s the only way to ensure a safe move for your beloved bike.
Place It in the Box
First, put the small boxes with additional parts into a large one and secure them with tape. Then, rotate the fork to make it shorter and place it in the container.
Place the wrapped seat on top of the rear wheel and cushion it all with protective paper or another type of padding. Close the box and tape it well, especially the bottom. After that, you only have to label the package.

Our Relocation and Car Shipping Company Can Take Care of the Two-Wheeler Too!
And there you have it – your bike is now prepped and ready for its big journey! With all those parts neatly packed and protected, your trusty two-wheeler will be itching to hit the roads in your new neighborhood. Who knew packing a bike could be almost as fun as riding it?
Whether it’s your four-wheeler, two-wheeler, or anything in between, Flat Price Auto Transport and Moving can help. Our team of expert cross-country movers can make sure everything arrives safe and sound – all you’ve got to do is get in touch. After all, we know it’s not just about the wheels – it’s about the ride!