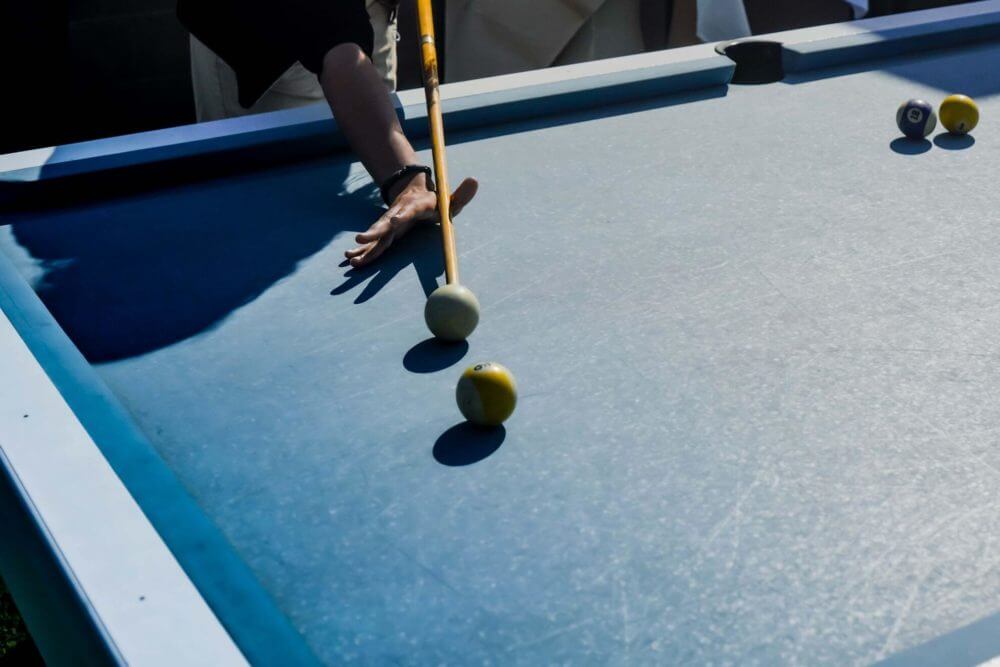
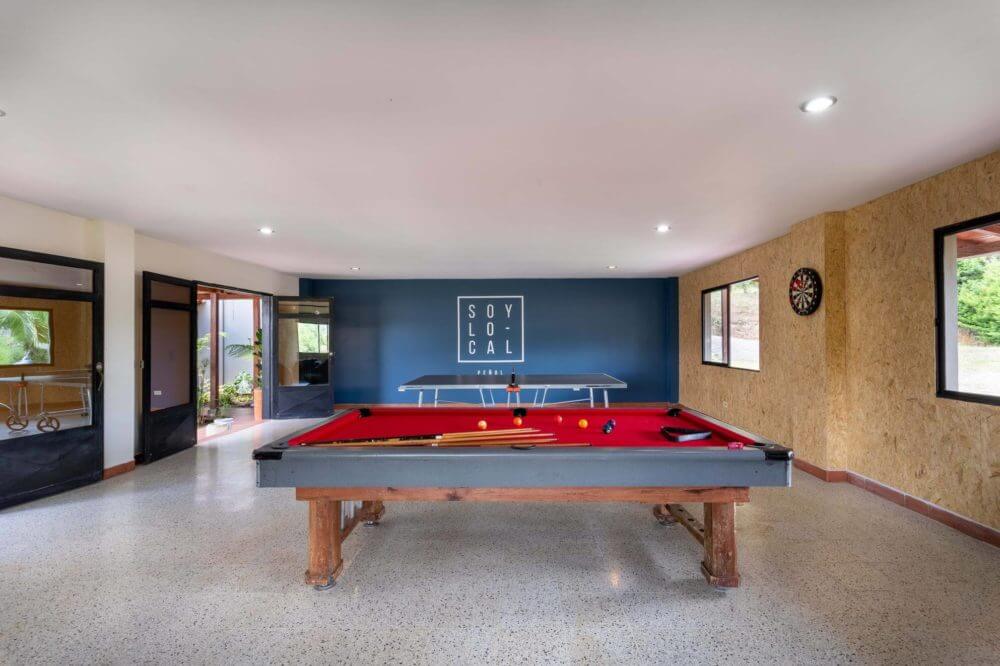
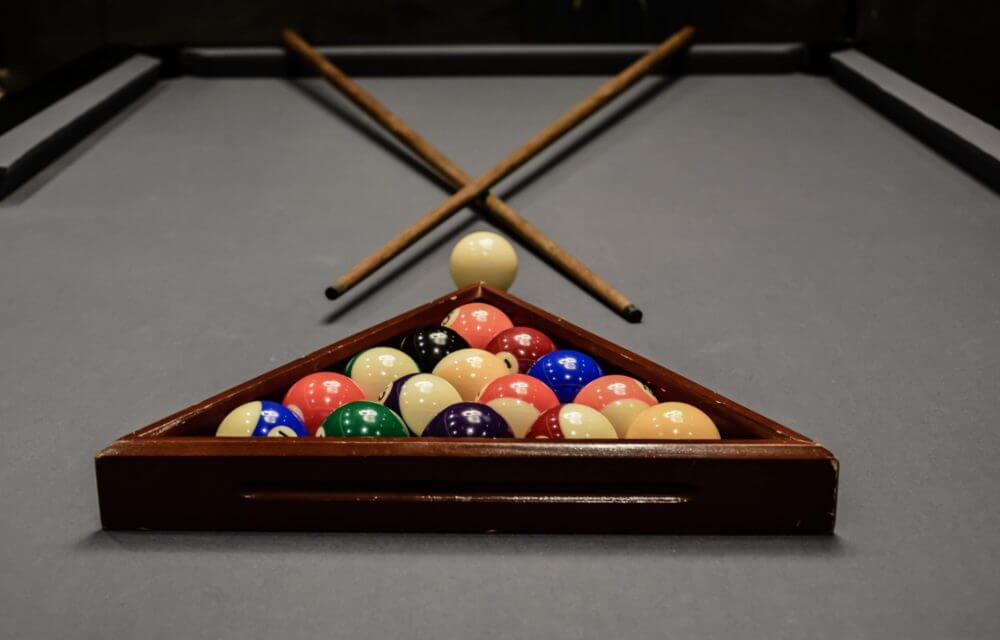
How to Move a Pool Table – Everything You Need to Know
Moving a pool table might just be one of the most challenging tasks of cross-country moving. This is because they are bulky, but also relatively fragile. So, if this hefty job is the next thing on your to-do list, it’s important to learn how to move a pool table and transport it to the new place in one piece. To help you out, we have prepared some useful tips and tricks.

Get All the Supplies You’ll Need
Did you know that Bugatti also makes pool tables? No joke – and one of them is the most expensive piece out there, valued at around $2.6 million.
However, you don’t have to have the most lavish one out there to be concerned about relocating it safely. No matter the manufacturer, it’s still one of your prized possessions, and you’ll definitely want to prepare for this move.
To prepare properly, the first step should be buying all the necessary supplies. Aside from the usual packing materials such as bubble wrap and duct tape, it’s a good idea to also stock up on the following supplies:
- Moving blankets for added protection,
- A wrench for disassembling,
- A screwdriver or a staple remover,
- Lifting straps to ease transport.
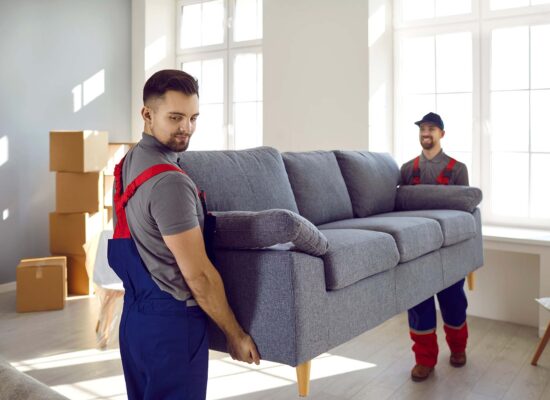
At some supply stores, you might even be able to find specific equipment for transporting billiards tables and taking them apart. However, when it comes to something as hefty and delicate as this, it’s best to leave it to experienced long-distance movers.
Professionals have got the know-how and the top-notch supplies, which they’ll bring if you go for the full packing services. So, if you want to avoid turning a fun game into a costly mistake with plenty of relocation stress, let the professionals rack up this one for you.
Measure Your Halls and Doorways
Since you’ve managed to get the billiards equipment into your home, we’re sure you’ll be able to get it out as well. The method should be the same – bring some backup, either friends or a professional long-distance moving company. But before the heavy lifting starts, you’ll need to measure the dimensions of your doors and hallways to figure out the best strategy.
Measuring everything is even more crucial if you’re trying to figure out how to move a slate pool table without taking it apart. But in most cases, you’ll be handling it disassembled, which should make the process easier but still requires bringing out that measuring tape. It wouldn’t hurt to measure the room where it will go, too.
How to Move a Pool Table Like a Professional – Let’s Take it One Step at a Time
Now that you have all the tools and dimensions you need, it’s time to get down to work. If you’re thinking it will be easy, bad news – even disassembling a pool table is not a breeze at all, so be ready to put a lot of effort into each step.
One more thing – different models are made in different ways, so there’s really no one-size-fits-all process for this task. However, we’ve done our best to outline the basic steps. With the following relocation tips, you’ll be able to get your prized baby to its new home safe and sound.
The First Step Is to Clean the Pool Table Before Moving It out of Your House
No matter if you’re hiring cross-country movers or DIY-ing the whole ordeal, the first thing you should do is make sure the equipment is clean. It’s like move-out cleaning, only for your favorite pastime. A clean piece is always safer to transport, as it has no debris or other miscellaneous chunks that could possibly damage it. And let’s be real – once it gets to the new home, the last thing you’ll want to do is clean it.
First, grab a soft brush and gently sweep away the chalk dust and crumbs (no judgment on that snack you snuck in). Move the brush in straight lines from one end to the other. For the tough spots, a damp cloth will do the trick, but be sure you’re using mild chemicals. Finish off by wiping down the rails, and voilà! Your equipment is refreshed and ready for the next game!
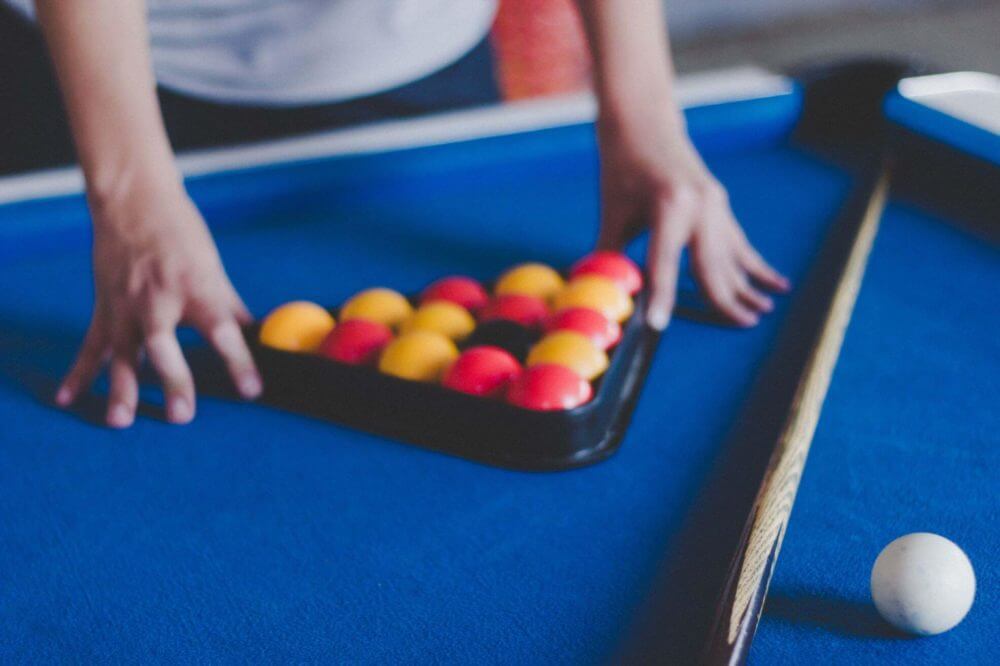
Disassemble a Pool Table to Be Able to Take It out of the Room
Taking care of your pool table is not like moving a heavy desk. If you want to start disassembling a pool table, you need to get the right equipment. A standard home piece is made of a heavy slate bed, wood frame, and leather drop pockets, making it pretty straightforward to disassemble. However, tables with mechanisms for ball return, those that are coin-operated, and those with a fiberboard surface will be harder to take apart.
Remove the Pockets and Take off the Side Rails Carefully
The first thing you need to do is detach the pockets by taking care of pocket liners and the adjacent screws and staples. You can do this with a simple screwdriver – just make sure you have goggles to protect your eyes from falling staples. It’s better to be safe than sorry!
Then you need to remove the rail bolts from each rail. There are usually three or four bolts underneath the rails, which you can take care of with a socket wrench. Carefully unscrew each bolt until the side rail comes loose. After you’re done with the rails, you can detach the cloth and the legs.

Removing the Felt Can Be Tricky
Probably the trickiest part of this whole process, although not as physically demanding, is removing the felt, which is the cloth that sits on the top. Most pieces have a stapled felt, which means you will need a staple remover for this. Feel free to take your time removing each staple. Rushing through may result in a lot of damage, which pretty much renders the whole equipment useless.
Lifting the Slate Is Tough So Make Sure to Bring In Some Backup
Lifting the slate (that is, the top of the table) can be quite a challenge – this part weighs quite a bit, usually somewhere between 650 and 1,000 pounds. It goes without saying, but you definitely shouldn’t be attempting this on your own.
Friends are great, but professional long-distance moving services are the golden ticket to a stress-free move. Just make sure you ask the movers if this kind of hefty equipment is an item they won’t move. Opting for a relocation and car shipping company such as Flat Price Auto Transport and Moving can be a wise choice. After all, if they specialize in auto transport, will a lil’ old pool table pose any challenge? Don’t think so!

Moving Services
Whether you are moving from New York to Los Angeles or from San Francisco to Chicago, we can help you.
Read more
Packing Services
Our moving teams are trained to pack your belongings in the most efficient manner possible.
Read more
Auto-Transport
If your first concern is having your vehicle transported safely and efficiently, enclose shipping is the way to go.
Read moreNext Up, Remove the Legs
The slate is gone, and the only thing left to remove from the frame now are the legs. Simply unscrew the bolts and screws holding them together and remove them. By now you should practically be a professional at this. If you still don’t feel that way, you should feel free to turn to some friends for help.

You Need to Carefully Protect Each Piece
Each piece should be packed efficiently, but this is not the last step – actually, you should do this throughout the whole process. As soon as you remove a part of the equipment, wrap it up in some plastic wrap, bubble wrap, and finally, a moving blanket.
This is especially important if you have wooden equipment, as wood chips easily and the damage is quite visible. As far as the felt goes, the best option would be to roll it up, wrap it in a few sheets of plastic, and bag it. We don’t want that moisture to get in!
Make Sure to Bag and Label All Screws for Quick Reassembly in the New Home
You’ve finally reached the new home, your boxes are here, and now it’s time to reassemble your pool equipment! At this time, you can avoid the stress of figuring out what goes where by simply organizing, bagging, and labeling all the tiny pieces before the move. For this task, we suggest zip-lock bags.
Avoid These Mistakes at All Costs When Moving a Pool Table
Now that you know all the relocation hacks on how to prepare and transport your equipment, let’s take a look at a couple of things you definitely shouldn’t do:
- Move the equipment in one piece – trying to move the whole thing without disassembling it first is practically impossible, and even if you do manage to lift it, the whole team could end up with injuries,
- Leave it for the last moment – this task is not made for last-minute moving, so make sure to set aside a few days to properly disassemble and handle the equipment without rushing,
- Do it on your own – we’ve said it once, we’ll say it again – this is a very complicated task, and you definitely shouldn’t attempt it on your own.
With Our Auto Transport Company, There Will Be No Scratches and No Stress!
So, there you have it! Moving a pool table might seem like trying to solve a Rubik’s Cube blindfolded, but with the right game plan and a bit of help, it’s totally doable. Whether you’re flexing your muscles with DIY tactics or wisely calling in the pros, the key is to approach it with care, patience, and maybe a little bit of elbow grease.
Ready to make the move as smooth as a perfect bank shot? Contact us at Flat Price Auto Transport and Moving – our team of professionals has the skills, experience, and top-of-the-line equipment to make sure this prized possession gets to its new home without a hitch. Let us handle the heavy lifting while you sit back and plan your next big win!