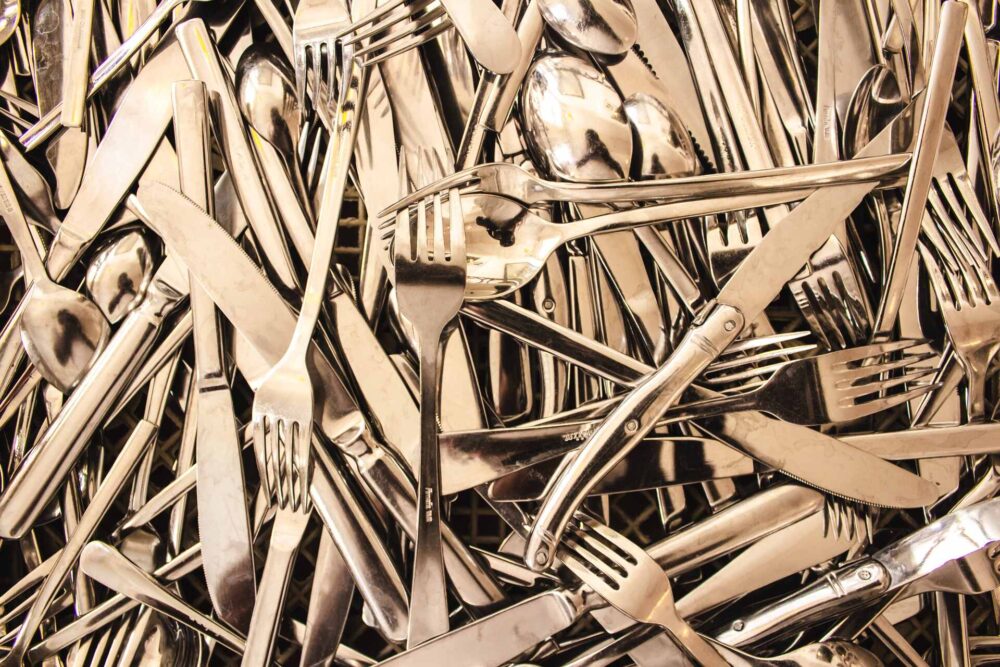
How to Pack Utensils for Moving – A Comprehensive Guide
Relocating to a new home is a monumental task, and ensuring every item in the kitchen makes the journey safely is paramount. The amount of work that needs to be done can make anyone feel overwhelmed. Fret not, as this comprehensive guide on how to pack utensils for moving will walk you through the essentials, ensuring your culinary tools reach their new destination in pristine condition.
When learning how to pack kitchen utensils for moving, start by sorting through the possessions and decluttering any items that are no longer needed or utilized. Gather the right packing supplies to ensure they are protected during the transit. After the boxing-up process, seal and label the boxes properly. For added efficiency, consider some expert tips on how to safely store these items, or choose a reputable moving and car shipping company for a seamless relocation experience.
Why Proper Utensil Packing Matters
Ensuring the right care for your possessions during relocation is vital, given their delicate nature and vulnerability to damage in transit. Proper organization and appropriate stowage of these culinary instruments are paramount to ward off unsightly scratches, unfortunate dents, and potential breakage. Leveraging high-caliber materials for safeguarding these items further amplifies the efficacy of the packaging process, ensuring each item arrives at its new home in impeccable condition.
Step-By-Step Guide – How to Pack Utensils for Moving
Planning a cross-country moving process demands meticulous attention to detail, especially when it comes to safeguarding your kitchen implements. Our comprehensive guide on packaging these essential tools is crafted with precision in mind. While it may seem tempting to hasten the process, it’s crucial to adhere to each stage.
Skipping steps could lead to relocation mistakes and damage or misplacement of your belongings, potentially costing more in replacements and repairs. By diligently following the guide, you ensure that the relocation of your relocation stays organized and unscathed.
Sort and Declutter Through Your Possessions
This is an excellent opportunity to evaluate what is truly worth keeping and taking to your future residence. Consider getting rid of redundant or obsolete items. For pieces that are still in good condition, think about selling them through a garage sale or online platforms like Craigslist or Facebook Marketplace.
Alternatively, you can donate unwanted items to charity or discard them responsibly. Keep in mind that streamlining your culinary tools now can significantly ease your relocation and make the packaging process efficient later on.
Follow the tips on how to downsize for a move provided in the video below.
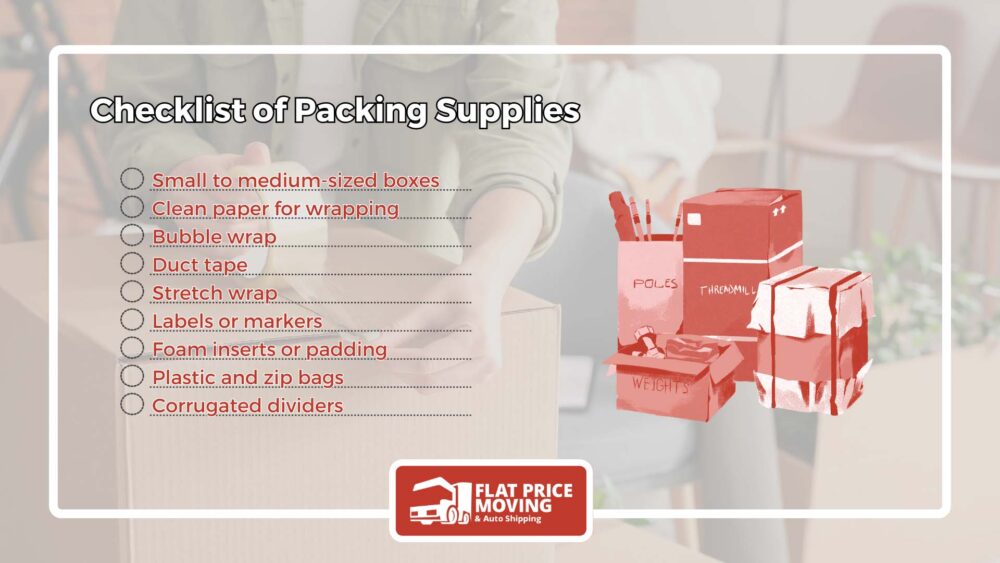
Gather the Necessary Packing Supplies
When safeguarding your kitchen tools during transportation, the packing materials you choose can make a world of difference. Selecting the right supplies not only prevents damage but also streamlines the entire moving process. Here’s a list of different packing materials to ensure your relocation goes efficiently and safely:
- Small to medium-sized crates – ideal for general kitchen items and stackable for transport,
- Clean paper for wrapping – this helps prevent scratches and can be crumpled for cushioning,
- Bubble wrap – perfect for wrapping delicate or fragile items and absorbing shock,
- Durable sealing adhesive or tape – to securely close boxes and prevent them from opening during transit,
- Stretch wrap – useful for bundling items together and moisture protection,
- Labels or markers – to identify box contents, making unpacking organized and straightforward,
- Foam inserts or padding – great for cushioning between items and filling void spaces,
- Plastic and zip bags – handy for grouping smaller items,
- Corrugated dividers – provide compartments within boxes, ideal for separating grouped items.
Wrap Fragile Utensils Well for a Safe Transition
Ensuring the safe relocation of delicate kitchen tools requires a meticulous approach. It’s imperative to wrap each fragile item individually, be it with protective paper or bubble wrap cushioning.
Begin by laying out the item on the sheet of paper or wrap, folding the material over, tucking in the ends, and taping the edges, akin to wrapping a gift. This process establishes a robust protective barrier that minimizes direct contact among items, mitigating the risk of scratches or breaks.
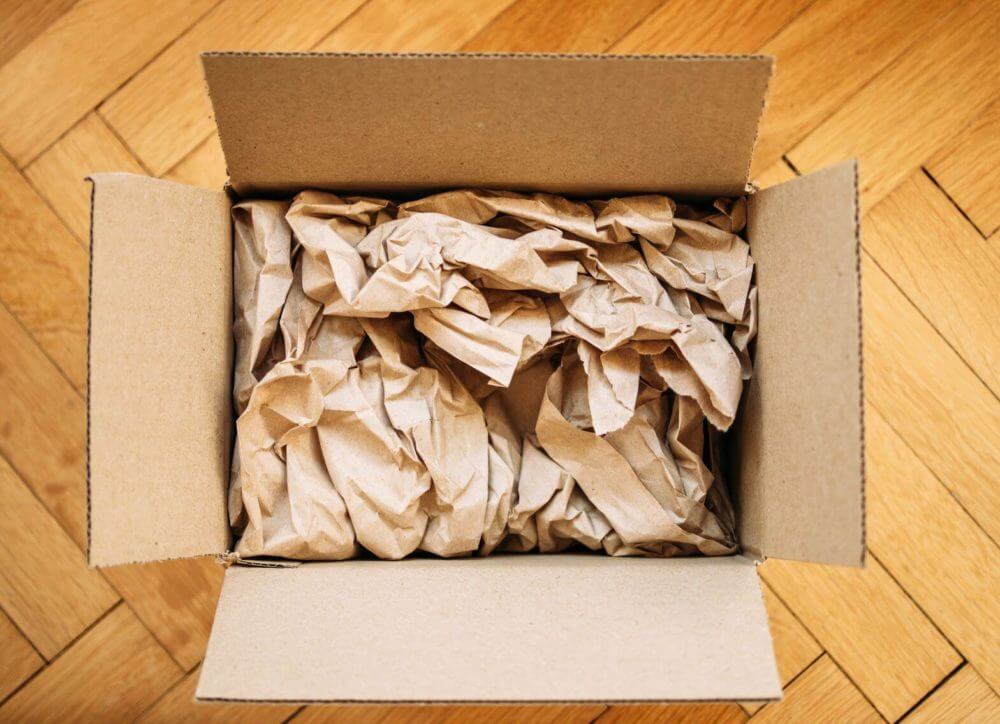
Pack Strategically for Space Efficiency
Optimizing space while ensuring the safety of your kitchen tools is a delicate balance to strike. When stowing them away, consider positioning them vertically within cartons. This orientation not only maximizes space but also reduces unnecessary movement. Beyond this arrangement, it’s vital to incorporate padding and utilize fillers in any residual spaces.
Whether you use crumpled paper, foam peanuts, or other cushioning, these fillers act as buffers, mitigating the risk of items shifting during transit. Such a strategic approach to packaging guarantees both space efficiency and the safety of your belongings.


Layering and Securing Is the Best Method When Boxing up Kitchen Items
Start by placing a foundational layer of protection at the base of the crate, offering a cushioned bed for your items. As you stow your items, introduce additional layers of cushioning between each tier.
This layering technique minimizes direct contact, substantially reducing the risk of damages or scratches. Adhering to such a structured approach when packaging guarantees that your kitchen belongings remain intact during the journey’s bumps and jolts.
Don’t Forget to Seal and Label Boxes After You Are Done
After meticulously arranging your kitchen tools, sealing and labeling crates becomes paramount. Ensuring a tight seal with sturdy adhesive or tape safeguards against unexpected box breaches during transit. But protection isn’t just about boxing up.
It’s also about clear communication. By marking your containers with “Utensils” and providing a brief overview of the contents, you facilitate more careful handling and streamline the unpacking process. Such attention to detail guarantees that both you and any long-distance movers are well-informed, reducing the chances of mishaps or confusion.

Moving Services
Whether you are moving from New York to Los Angeles or from San Francisco to Chicago, we can help you.
Read more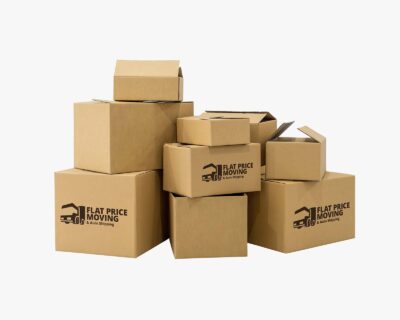
Packing Services
Our moving teams are trained to pack your belongings in the most efficient manner possible.
Read more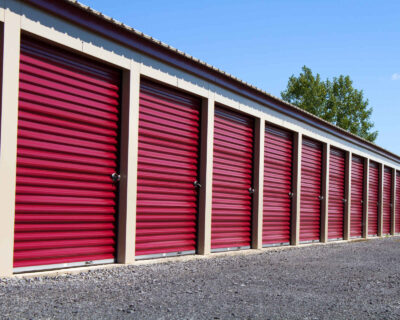
Storage Service
Knowing what kind of surprises cross country move may hold, we offer 30 day free storage for belongings at the origin state.
Read moreAdditional Tips on How to Pack Away Kitchen Utensils for Moving
When packing your kitchen items for relocation, know that certain tools demand extra attention. For example, sharp instruments like knives should be wrapped securely, ensuring both their preservation and the safety of anyone handling the box. A smart tactic is to utilize items you already have on hand, such as dish towels, cloth napkins, or even socks, as creative storage.
Not only do they offer an environmentally friendly wrapping alternative, but they also provide additional cushioning to shield against potential impacts. Embracing such nuanced strategies while packaging can significantly elevate the safety and efficacy of your moving preparations.
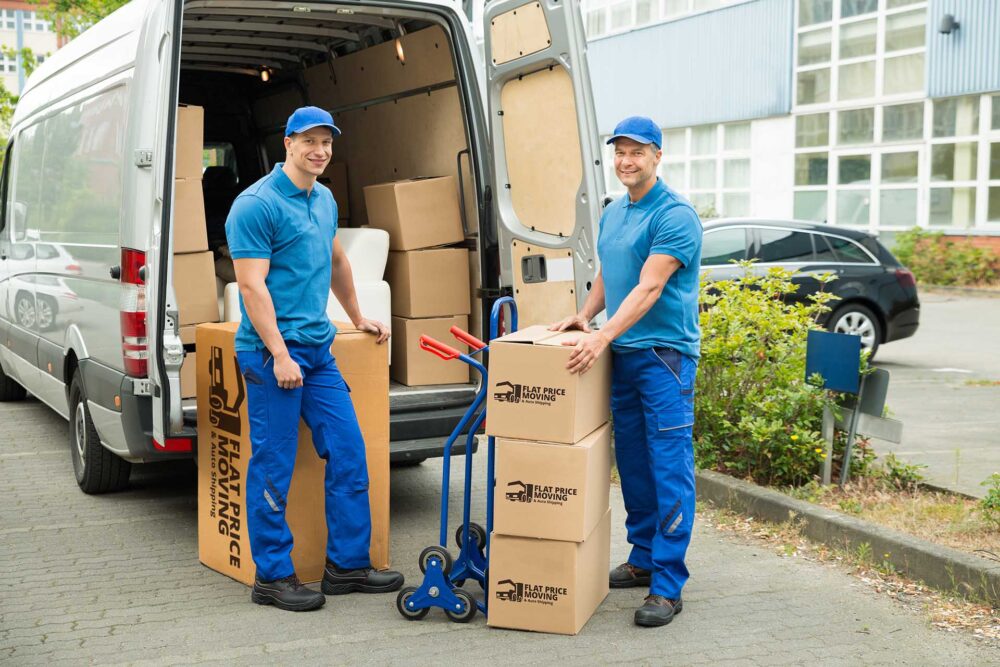
Choose Our Long-Distance Moving Company for Hassle-Free Relocation
At Flat Price Auto Transport and Moving, we understand the complexities of long-distance relocations. That’s why our long-distance moving services are crafted to provide a seamless and worry-free experience from start to finish.
Beyond shipping your belongings to another state, our expert packing services ensure that everything, from your fragile keepsakes to hefty furniture, is safely secured for the journey ahead. With us, you’re not merely choosing a moving company – you’re opting for the peace of mind. Contact us today and embark on a stress-free relocation adventure to your future abode.
FAQ
What's the Best Way to Pack Fragile Glassware Along With Utensils?
When handling delicate glassware, wrapping individual pieces using bubble wrap or packing paper is paramount. Start by cushioning the box’s base with crumpled paper.
Place each glass object vertically to minimize pressure points, reducing the risk of breakage. Between these items, layer utensils wrapped in soft cloth or padded paper, ensuring a snug fit to reduce jostling during transport.
Can I Use Newspaper Instead of Packing Paper for Wrapping Utensils?
While newspapers are a cost-effective and readily available option, they may leave behind ink residues. If you opt for newspapers, be prepared to clean the utensils thoroughly after the move. For items that shouldn’t come into contact with ink, like white porcelain or delicate materials, it’s preferable to use ink-free paper.
Is It Necessary to Wrap Stainless Steel Utensils Individually?
Stainless steel is notably robust. However, wrapping it individually can prevent potential scratches, dings, or damage, ensuring each utensil maintains its gleam and finish throughout the moving process.
What Should I Do if I Run Out of Supplies Mid-Packing?
Firstly, always prioritize your most fragile and valuable items. If you run short on supplies, get creative, as you can always use household textiles like towels, bedsheets, and clothing.
These can act as buffers and fillers. If possible, make a quick run to a local store for more supplies, or consider asking neighbors, family, and friends who recently relocated if they have leftover supplies.
How Do I Prevent Wooden Utensils From Cracking During the Move?
Wooden utensils can be sensitive to humidity and pressure. Wrap them in cloth or breathable materials to shield them from moisture. Ensure they’re not placed under heavy items in boxes, as undue pressure can cause stress cracks or fractures.
Should I Disassemble My Utensil Caddy Before Packing It?
It’s advisable to do so. Disassembling larger or modular items can save space and allow for more efficient packing. Additionally, by breaking it down, you reduce the risk of damage to protruding or delicate components.
What's the Recommended Way to Pack Utensils With Wooden Handles?
Utensils with wooden handles combine the vulnerabilities of metal and wood. Carefully wrap the wooden portion to protect against moisture and warping, using breathable materials like cloth. The metal or functional end should be treated as other utensils to avoid dents or damage.
How Can I Ensure That Utensils Arrive in Good Condition in Hot Weather?
In high temperatures, certain materials, especially plastics, might warp. Using insulated boxes can mitigate heat exposure. Always shield the items from prolonged direct sunlight and, where possible, transport them in climate-controlled vehicles. Ensure proper ventilation during storage and transition to avoid condensation and moisture buildup.
Should I Trust My Auto Transport Company to Pack My Kitchen Tools and Accessories?
While professional moving companies typically offer skilled packing services that ensure the safety of your items, it’s essential to communicate any specific concerns or instructions regarding your kitchen equipment. If you have rare or delicate pieces, consider handling them personally.
However, for general kitchen gear, trained cross-country movers often have the expertise and materials to secure them properly for transit. However, always confirm that the company is legitimate by checking its track record and reading reviews before making a decision.
What Types of Boxes Are Best Suited for Transporting Kitchen Utensils?
For kitchen tools, it’s essential to prioritize protection. Choosing sturdy, corrugated boxes with double walls is key. These offer enhanced strength and prevent potential damage from external pressures, ensuring your culinary tools remain undamaged throughout the move. Reinforce the bottoms with strong tape for added assurance.
How Can I Best Secure Sharp-Edged Kitchen Instruments Like Knives?
Sharp tools, especially knives, pose a safety risk if not packed correctly. Wrapping each blade individually in thick cloth or cardboard can prevent accidents during unpacking. After wrapping, bundle knives together, tying them with twine or securing them with tape. This not only ensures safety but also maintains the blade’s sharpness by preventing unnecessary friction.
Is There a Special Method for Wrapping Delicate Porcelain or Ceramic Tools?
Delicate materials like porcelain and ceramic can easily chip or break. To safeguard against this, wrap each item individually using bubble cushioning or padded paper, ensuring every inch is covered. For heightened security, consider using boxes with dividers, similar to those for wines or glasses, which provide separate compartments and minimize the chances of items knocking against one another.
Can I Utilize My Pots and Pans as Containers for Smaller Kitchen Items?
Indeed, pots and pans offer an innovative space-saving solution. Utilize their hollow space by placing smaller kitchen tools inside. Ensure that each interior item is wrapped to prevent scratches or damage.
When placing items within these objects, make sure there’s no excessive movement. A snug fit is best, supplemented with cushioning material if needed.
How Do I Prepare and Box up Items Like Rolling Pins or Mortar and Pestle Sets?
Elongated or oddly shaped tools demand unique packing approaches. Start by wrapping them in padded paper or bubble cushioning.
When positioning them in the box, lay them in a manner that minimizes the chance of rolling or shifting, preferably surrounded by softer items or additional padding to keep them stationary during transit.
How Do I Ensure the Cleanliness of My Kitchen Items During the Transition?
Maintaining cleanliness is crucial for health and hygiene. Begin by wrapping your kitchen tools in clean, breathable materials, ensuring they’re sealed off from potential contaminants.
Using plastic wraps or sealable bags can provide an additional layer of protection against dust and grime. Moreover, thorough cleaning before packing and after settling into your new place guarantees your kitchen items are ready for immediate use.